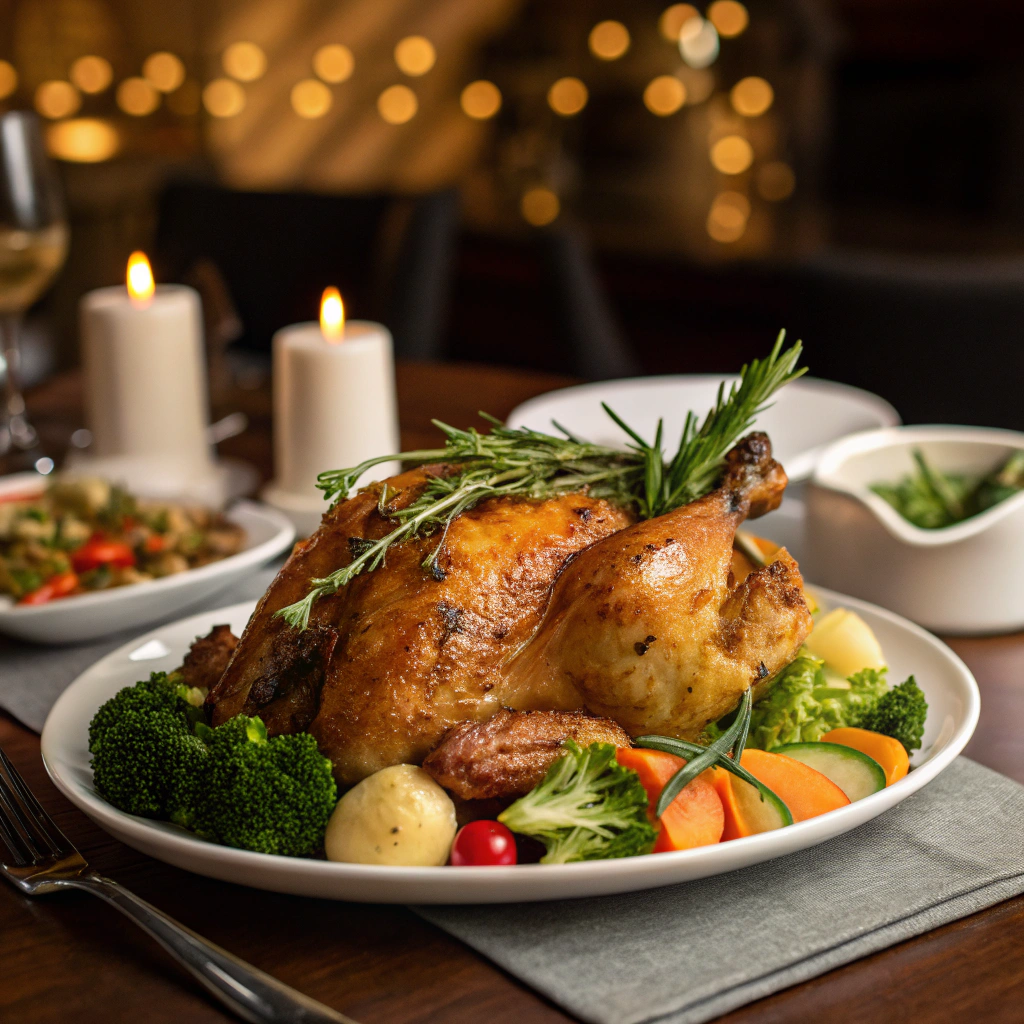
Have You Been Missing the Secret to Incredibly Juicy, Tender Chicken Every Time?
Ever wondered why restaurant chicken always seems more succulent and flavorful than what you make at home? The culinary secret might be simpler than you think—and it involves nothing more than salt, water, and a little patience. I'm talking about Brined chicken, a game-changing technique that transforms ordinary poultry into extraordinary meals.
The Magic of Brined Chicken: An Overview
Brining is essentially a salt-water bath that infuses chicken with moisture and flavor through the simple science of osmosis. This 200-year-old technique was originally used for food preservation, but today chefs leverage it primarily to enhance flavor and juiciness. The process requires 2-24 hours depending on the chicken cut, making it suitable for weekend cooking or overnight preparation on weekdays. While the technique itself is straightforward (even beginner-friendly), the results are professional-grade—delivering restaurant-quality chicken right from your kitchen.
Essential Ingredients for Perfect Chicken Brine
Basic Brine Components:
- Water (4 cups): The solvent that carries flavor throughout the meat
- Kosher salt (¼ cup): The key ingredient that restructures proteins, allowing moisture retention
- Sugar (3 tablespoons): Balances the saltiness while promoting browning
- Aromatics: Herbs, spices, and citrus that infuse subtle flavor
Flavor Enhancers (Optional):
- Bay leaves (2-3): Adds subtle earthy notes
- Peppercorns (1 tablespoon): Provides gentle heat and complexity
- Garlic cloves (3-4, crushed): Imparts savory undertones
- Lemon (1, sliced): Contributes brightness and acidity
- Fresh herbs (sprigs of thyme, rosemary): Adds aromatic complexity
Substitution Notes:
- Salt: Table salt can replace kosher salt but use only half the amount due to density differences
- Sugar alternatives: Brown sugar, maple syrup, or honey can replace white sugar
- Citrus options: Orange or lime can substitute for lemon
- Liquid variations: Replace some water with apple juice, vegetable stock, or white wine
Step-by-Step Brining Instructions
Preparing the Brine:
- Make the salt solution: In a large pot, combine 4 cups of cold water with ¼ cup kosher salt and sugar.
- Heat and dissolve: Warm the mixture over medium heat, stirring until salt and sugar completely dissolve (about 3-5 minutes).
- Add aromatics: Toss in your chosen aromatics—bay leaves, peppercorns, garlic, lemon slices, and herbs.
- Cool completely: Allow the brine to cool to room temperature, then refrigerate until cold. (Pro tip: Add ice cubes to expedite cooling, but account for dilution by using less water initially)
Brining the Chicken:
- Prepare your chicken: Remove giblets, trim excess fat, and pat dry with paper towels.
- Submerge in brine: Place chicken in a large container or resealable bag and pour the cooled brine over it. Ensure chicken is fully submerged, weighing it down if necessary.
- Refrigerate: Brine for the appropriate time:
- Whole chicken (3-4 pounds): 12-24 hours
- Chicken parts (breasts, thighs): 2-4 hours
- Small pieces (wings, tenders): 1-2 hours
- Rinse and dry: Remove chicken from brine, rinse thoroughly under cold water, and pat completely dry with paper towels.
- Rest: Allow to air-dry in the refrigerator for 30 minutes to form a pellicle (a protein-rich surface that develops beautiful browning).
Cooking Your Brined Chicken
Roasting Method:
- Preheat oven to 425°F (218°C)
- Season the exterior with pepper and desired herbs (go light on salt since it's brined)
- Place on a rack in a roasting pan
- Cook until internal temperature reaches 165°F (74°C) (approximately 20 minutes per pound for whole chicken)
- Rest for 15-20 minutes before carving
Grilling Method:
- Preheat grill to medium-high heat
- Oil grates to prevent sticking
- Cook skin-side down first for crispy skin
- Turn once halfway through cooking
- Rest 5-10 minutes before serving
Sautéing Method (for pieces):
- Heat 2 tablespoons oil in a skillet over medium-high heat
- Place chicken skin-side down
- Cook until golden (about 6-7 minutes)
- Flip and finish cooking (about 5-6 minutes)
- Rest 5 minutes before serving
Storage and Make-Ahead Tips
- Brined uncooked chicken: Can be kept in the refrigerator for up to 2 days after brining
- Cooked brined chicken: Refrigerate for up to 4 days in airtight containers
- Freezing options: Freeze cooked brined chicken for up to 3 months
- Reheating: For best results, reheat gently:
- Oven: 300°F (150°C) covered with foil
- Microwave: 50% power with a damp paper towel cover
- Stovetop: Low heat with a splash of chicken broth
- Make-ahead prep: Prepare brine solution up to 3 days in advance and store refrigerated
Creative Recipe Variations
International Flavor Profiles:
- Mediterranean: Add oregano, lemon zest, and olive to the brine
- Asian-inspired: Incorporate ginger, star anise, and a splash of soy sauce
- Mexican fiesta: Use lime instead of lemon and add cilantro stems and jalapeño
- Indian twist: Include cardamom pods, cinnamon stick, and turmeric
Sweet & Savory Options:
- Apple cider brine: Replace half the water with apple cider for fall flavors
- Buttermilk brine: Swap half the water with buttermilk for Southern-style tenderness
- Spicy honey: Add hot pepper flakes and honey for sweet heat
- Herb garden: Load with fresh herbs from your garden for a bright, aromatic profile
Enjoy Your Brining Journey
Now you're equipped with the secret technique that transforms ordinary chicken into extraordinary meals! Brined chicken might require a bit more planning than your usual dinner prep, but the minimal extra effort delivers maximum rewards in flavor and texture.
Remember, the beauty of brining lies in its customization. Start with the basic technique, then branch out to create signature flavor profiles that reflect your personal taste. Soon, you'll have friends and family wondering how your chicken always turns out so perfectly juicy and flavorful. So go ahead—fill that pot with salt water, add your favorite aromatics, and discover the transformative power of this ancient culinary technique!