The Secret to Succulent Poultry: Mastering the Art of Brining
Have you ever wondered why restaurant chicken always tastes more juicy, tender, and flavorful than what you make at home? The culinary secret that professional chefs rarely share might be simpler than you think—it's all about the brine! A properly executed Chicken brine recipe can transform an ordinary chicken dinner into a memorable feast that will have your guests convinced you've been studying culinary arts in secret.
Overview: The Magic of Brining
Brining is more than just soaking chicken in saltwater—it's a scientific process that enhances moisture retention, improves flavor penetration, and transforms the texture of the meat. This recipe requires approximately 12-24 hours of brining time (though even 4 hours will make a difference), plus 30 minutes of preparation. While the technique is straightforward with a difficulty level of easy-to-moderate, the results are undeniably professional-grade.
What makes this particular brine special is the balanced combination of salt, sugar, herbs, and aromatics that infuse the chicken with flavor while improving its moisture retention capabilities. When properly brined, your chicken can retain up to 15% more moisture during cooking, making dry chicken a problem of the past.
Essential Ingredients
For the Basic Brine (4-5 pounds of chicken):
- 1 gallon (16 cups) cold water, divided
- ¾ cup kosher salt (not table salt)
- ⅔ cup granulated sugar
- 2 bay leaves
- 1 tablespoon whole black peppercorns
- 3 cloves garlic, crushed
- 1 large onion, quartered
- 2 sprigs fresh rosemary
- 4 sprigs fresh thyme
- 1 lemon, sliced
- 2 tablespoons honey
- 3 cups ice cubes
Why These Ingredients Matter:
- Kosher salt: Contains no additives and dissolves easily. Its larger crystals provide perfect salinity without over-salting.
- Sugar: Balances the saltiness and promotes browning during cooking.
- Aromatics (garlic, onions, herbs): Infuse subtle flavors that penetrate the meat.
- Honey: Adds complexity to the flavor profile and helps with caramelization.
- Ice: Rapidly cools the brine to prevent bacterial growth.
Possible Substitutions:
- Brown sugar can replace white sugar for a deeper molasses flavor
- Apple juice can replace 4 cups of the water for a sweeter profile
- Soy sauce (½ cup) can replace some salt for umami flavor
- Dried herbs (1 teaspoon each) can replace fresh (though fresh is preferred)
Step-by-Step Instructions
Make the brine base:
- In a large pot, bring 4 cups of water to a simmer.
- Add salt and sugar, stirring until completely dissolved.
- Add bay leaves, peppercorns, garlic, onion, rosemary, thyme, and lemon slices.
- Simmer for 5 minutes to extract flavors.
- Remove from heat and stir in honey.
Cool the brine:
- Add the remaining 12 cups of cold water and ice cubes.
- Stir until ice is melted and brine reaches approximately 40°F (4°C).
- Pro tip: Never add chicken to warm brine as this creates a food safety hazard.
Prepare the chicken:
- Rinse chicken pieces under cold water.
- Remove excess fat and pat dry with paper towels.
- Technique tip: For whole chickens, consider removing the backbone to ensure even brining.
Brine the chicken:
- Place chicken in a brining container (non-reactive such as glass, plastic, or stainless steel).
- Pour cooled brine over chicken, ensuring it's completely submerged.
- Cover container and refrigerate.
- Time guide: Whole chicken: 12-24 hours; Bone-in pieces: 6-12 hours; Boneless cuts: 4-8 hours.
Assembly and Cooking Preparations
After brining, proper handling ensures the best results:
- Remove chicken from brine and rinse thoroughly under cold water to remove excess salt.
- Pat completely dry with paper towels. This critical step ensures crispy skin when roasted.
- Allow to air-dry in refrigerator for 1 hour if possible, which creates even crispier skin.
- Season lightly - remember your chicken is already infused with flavor, so go easier on the salt.
- For presentation: Consider tucking herb sprigs under the skin before cooking for an elegant appearance.
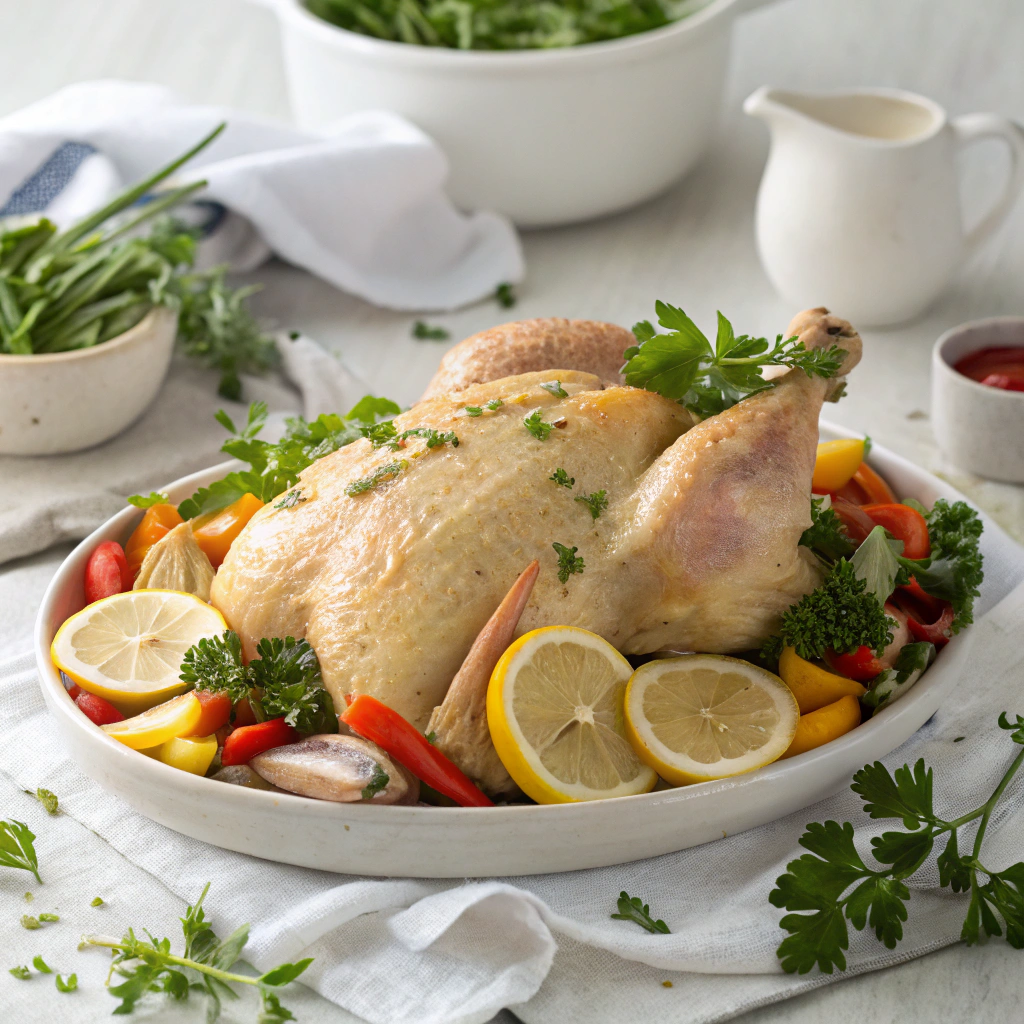
Presentation tip: Brined chicken develops a beautiful golden-brown color when roasted, making it visually impressive without additional effort.
Storage and Make-Ahead Tips
- Brine solution can be prepared up to 3 days ahead and stored in the refrigerator.
- Brined chicken should be cooked within 24 hours after removing from brine.
- Partially brined chicken can be frozen for up to 1 month. Thaw in refrigerator before cooking.
- Leftover cooked brined chicken stays moist longer than non-brined chicken and can be refrigerated for up to 4 days.
- For meal prep: Brine a large batch of chicken on Sunday, then portion and freeze for quick weeknight meals.
Recipe Variations
- Herb Garden Brine: Double all herbs and add 1/4 cup each of chopped parsley and dill.
- Citrus Burst Brine: Add orange and lime slices alongside lemon, plus 2 tablespoons of zest.
- Spicy Southwest: Add 2 tablespoons chili powder, 1 jalapeño (sliced), and 1 teaspoon cumin.
- Asian-Inspired: Replace water partially with 2 cups soy sauce, add 2-inch ginger piece (sliced), and 2 star anise.
- Buttermilk Brine: Replace half the water with buttermilk for extremely tender fried chicken.
Conclusion
The perfect Chicken brine recipe is truly a game-changer in your cooking arsenal. Once you experience the dramatic improvement in texture, juiciness, and flavor, you'll never want to cook chicken without brining it first. This simple technique delivers restaurant-quality results with minimal effort, proving that sometimes the most impactful cooking secrets are the simplest.
Don't be afraid to experiment with different flavor combinations based on your meal plans or favorite cuisines. From holiday roasted chicken to weeknight grilled pieces, this brining method adapts beautifully to any cooking technique. Your friends and family will certainly notice the difference—but whether you share your secret technique is entirely up to you!


