Have You Been Secretly Settling for Dry, Flavorless Chicken All This Time?
Imagine biting into a piece of chicken so juicy, tender, and flavorful that it practically melts in your mouth. Now think about the last chicken dinner you prepared—was it memorable, or just another forgettable meal? The difference between extraordinary and ordinary chicken often comes down to one simple culinary secret: brining. A proper Chicken brine recipe can transform even the most basic chicken cut into a restaurant-quality dish that will have your family and friends begging for your secret.
Overview: The Magic Behind Perfect Brined Chicken
Brining is the culinary technique that professional chefs swear by but home cooks often overlook. It's the process of soaking meat in a salt solution before cooking, which helps the protein retain moisture and enhances flavor penetration. What makes this technique special is its ability to consistently deliver juicy results, even with typically dry cuts like chicken breast.
Time Requirement: 2-24 hours (depending on chicken size)
Difficulty Level: Beginner-friendly
Outcome: Incredibly moist, deeply flavored chicken that's virtually impossible to overcook
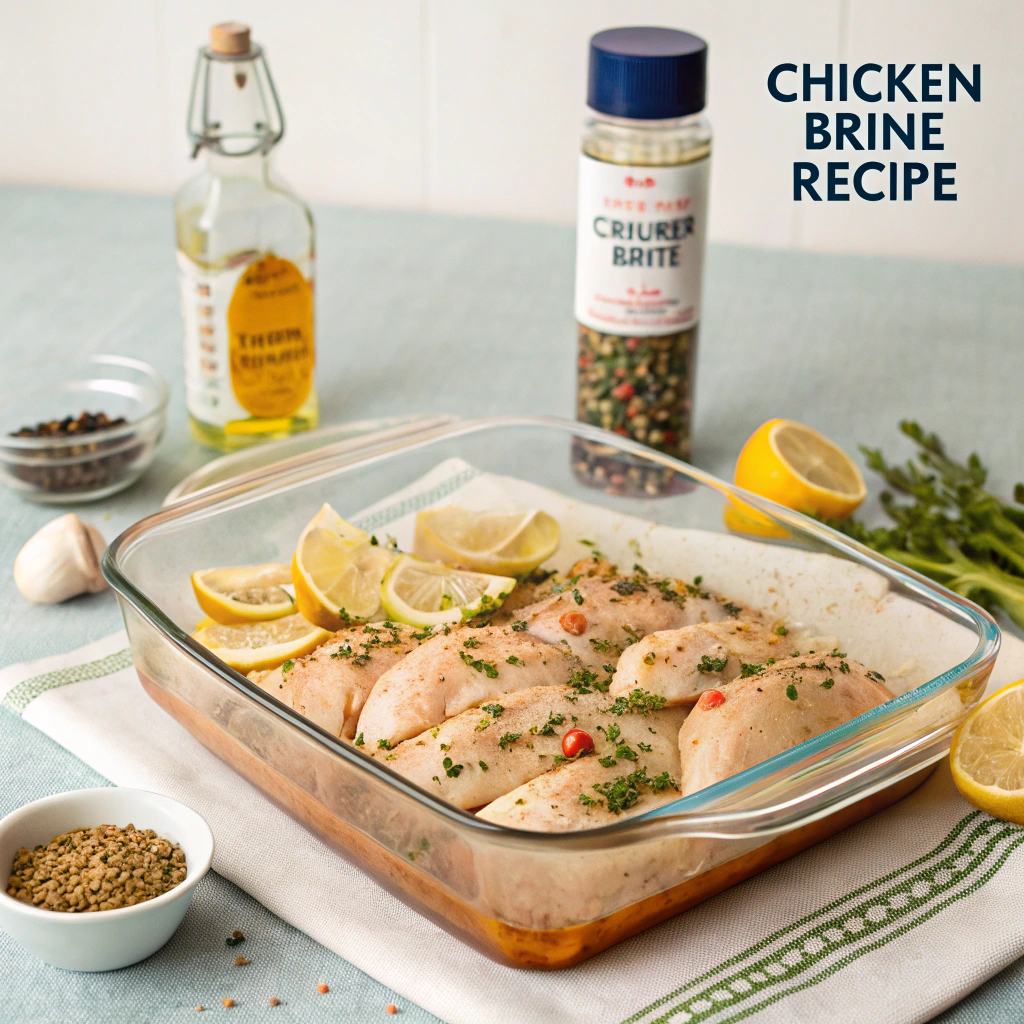
Essential Ingredients: The Science of Flavor Infusion
Base Brine Components:
- 4 cups water - The main solvent that carries the flavors
- 1/4 cup kosher salt - Diamond Crystal or Morton's (crucial for protein modification)
- 1/4 cup granulated sugar - Balances saltiness and promotes browning
- 3-4 garlic cloves, crushed - Provides aromatic depth
- 1 tablespoon whole black peppercorns - Adds subtle heat and complexity
- 2 bay leaves - Contributes earthy notes
- 1 tablespoon whole coriander seeds - Offers citrusy complexity
Why These Ingredients Matter:
The salt is non-negotiable as it performs the actual brining magic by restructuring proteins in the meat, helping them retain moisture during cooking. Sugar not only balances flavor but also promotes beautiful browning. The aromatics infuse the chicken with subtle complexity that plain salt and water cannot achieve.
Possible Substitutions:
- Honey or maple syrup can replace granulated sugar for different flavor profiles
- Lemon or orange zest can substitute for coriander seeds
- Dried herbs can replace fresh if necessary (use 1/3 the amount)
- For salt-restricted diets: Reduce salt to 3 tablespoons and increase brining time by 25%
Step-by-Step Instructions: The Perfect Brine Every Time
Preparation:
- Heat half the water - In a medium saucepan, bring 2 cups of water to a simmer.
- Dissolve the solids - Add salt and sugar, stirring until completely dissolved (about 1 minute).
- Bloom the aromatics - Add garlic, peppercorns, bay leaves, and coriander seeds. Simmer for 1 minute to release flavors.
- Cool the solution - Remove from heat and add the remaining 2 cups of cold water to rapidly bring down the temperature.
- Chill completely - Allow the brine to cool to room temperature, then refrigerate until cold (at least 30 minutes).
Tips for Perfect Brining:
- Always use cold brine for food safety reasons—never add raw chicken to warm brine
- Use a non-reactive container (glass, food-grade plastic, or stainless steel) for brining
- Calculate brining time based on chicken size: 1 hour per pound is a good rule of thumb, with a minimum of 2 hours and maximum of 24 hours
- Rinse chicken after brining to remove excess salt from the surface
Assembly: From Brine to Divine
- Submerge completely - Place chicken pieces in a container or heavy-duty zip-top bag and pour the cold brine over them, ensuring every piece is fully covered.
- Seal and refrigerate - Store in the refrigerator for the calculated time, turning occasionally if not fully submerged.
- Rinse thoroughly - Remove chicken from brine and rinse under cold water to prevent over-salting.
- Dry completely - Pat thoroughly dry with paper towels before cooking for better browning.
- Rest at room temperature - Allow chicken to sit for 20-30 minutes before cooking for even heat distribution.
Presentation Enhancement:
For an Instagram-worthy finish, consider a light brush of olive oil and a sprinkle of fresh herbs like thyme or rosemary before serving. The sheen from the oil and pop of green creates visual appeal that matches the enhanced flavor.
Storage and Make-Ahead Tips
- Prepare brine up to 5 days ahead - Store the liquid in an airtight container in the refrigerator
- Brined chicken should be cooked within 24 hours - After brining, the clock starts ticking
- Never reuse brine - Discard after one use for food safety
- If you need to pause - Remove chicken from brine at the appropriate time rather than leaving it in longer
Recipe Variations: Creative Flavor Profiles
Herb Garden Brine:
Add 2 tablespoons each of fresh rosemary, thyme, and sage for an aromatic profile perfect for roasted chicken.
Citrus Explosion:
Include the zest and juice of 1 lemon, 1 lime, and 1 orange with 1 tablespoon of crushed red pepper flakes for bright, zesty chicken.
Asian-Inspired:
Mix in 2 tablespoons of soy sauce, 1 tablespoon of rice vinegar, 2 star anise pods, and 1-inch sliced ginger for an exotic twist.
Smoky Southwest:
Add 1 tablespoon each of smoked paprika, ground cumin, and dried oregano with a minced jalapeño for heat.
Conclusion: Your Path to Chicken Perfection
The beauty of a Chicken brine recipe lies in its simplicity and transformative power. Once you master this fundamental technique, you'll never accept dry, bland chicken again. Start with the basic recipe, then experiment with different flavor combinations to discover your signature brine.
Remember, the few extra minutes spent brining will reward you tenfold in flavor and texture. Your chicken dishes will become the stuff of legend among your friends and family, and you'll find yourself reaching for this recipe again and again. Happy brining, and even happier eating!


