The Art of Perfect Juiciness: Transforming Your Everyday Poultry
Have you ever wondered why restaurant chicken breasts are consistently juicier, more flavorful, and seemingly impossible to recreate at home? The secret that professional chefs rarely share lies not in expensive equipment or culinary school techniques, but in a simple process that transforms ordinary poultry into extraordinary meals: brining.
Recipe Overview: The Magic of Brine chicken breast
This game-changing technique requires minimal effort but delivers maximum results. With just 30 minutes of active preparation and 2-24 hours of brining time, you'll revolutionize your chicken cooking forever. Even kitchen novices can master this method, as it ranks as an easy-to-moderate difficulty level. What makes this recipe special is its incredible ability to infuse moisture and flavor deep into the meat fibers, creating chicken that remains juicy even when slightly overcooked – a safety net for home cooks everywhere.
Essential Ingredients: The Science of Flavor Infusion
For the perfect brine, you'll need:
- 4 cups water (the medium for flavor transfer)
- ¼ cup kosher salt (creates the osmosis effect that tenderizes meat)
- 3 tablespoons granulated sugar (balances the saltiness and promotes browning)
- 4 garlic cloves, smashed (provides aromatic depth)
- 1 tablespoon black peppercorns (adds subtle heat)
- 2 bay leaves (contributes earthy notes)
- 2 sprigs fresh rosemary (infuses aromatic complexity)
- 2 lemons, halved (brightens flavors with natural acidity)
- 4 boneless, skinless chicken breasts (approximately 2 pounds)
Why These Ingredients Matter:
The salt is non-negotiable as it's the crucial element that creates the osmotic effect allowing moisture and flavors to penetrate the meat. Sugar balances the salt while promoting beautiful browning during cooking. The aromatics (garlic, herbs, citrus) are customizable based on your flavor preferences.
Substitutions:
- Kosher salt can be replaced with sea salt (reduce to 3 tablespoons)
- Brown sugar can substitute for granulated sugar for deeper flavor
- Dried herbs can replace fresh (use 1 teaspoon dried for each tablespoon fresh)
- Apple cider vinegar can substitute for lemons (2 tablespoons)
Step-by-Step Instructions: The Path to Perfection
Prepare the brine solution:
- In a large pot, combine water, salt, and sugar
- Heat over medium, stirring until salt and sugar completely dissolve (about 5 minutes)
- Remove from heat and add garlic, peppercorns, bay leaves, rosemary, and lemons
- Let the mixture cool completely to room temperature (accelerate by adding 2 cups of ice)
Prepare the chicken:
- Examine each breast and trim away any excess fat or tendon pieces
- If breasts are very thick (more than 1 inch), consider butterflying or gently pounding to even thickness for more consistent brining
Begin the brining process:
- Transfer the cooled brine to a large glass or plastic container (never use reactive metals like aluminum)
- Submerge chicken breasts completely in the brine
- Cover container and refrigerate for at least 2 hours (for quick results) or up to 24 hours (for maximum effect)
Finish the preparation:
- Remove chicken from brine and rinse thoroughly under cold water to remove excess salt
- Pat completely dry with paper towels (crucial for proper browning)
- Let chicken rest at room temperature for 15-20 minutes before cooking
Pro Tips:
- Never brine for more than 24 hours as the texture can become mushy
- Always use cold brine when submerging the chicken to maintain food safety
- The drying step after brining is essential – moisture on the surface prevents proper searing
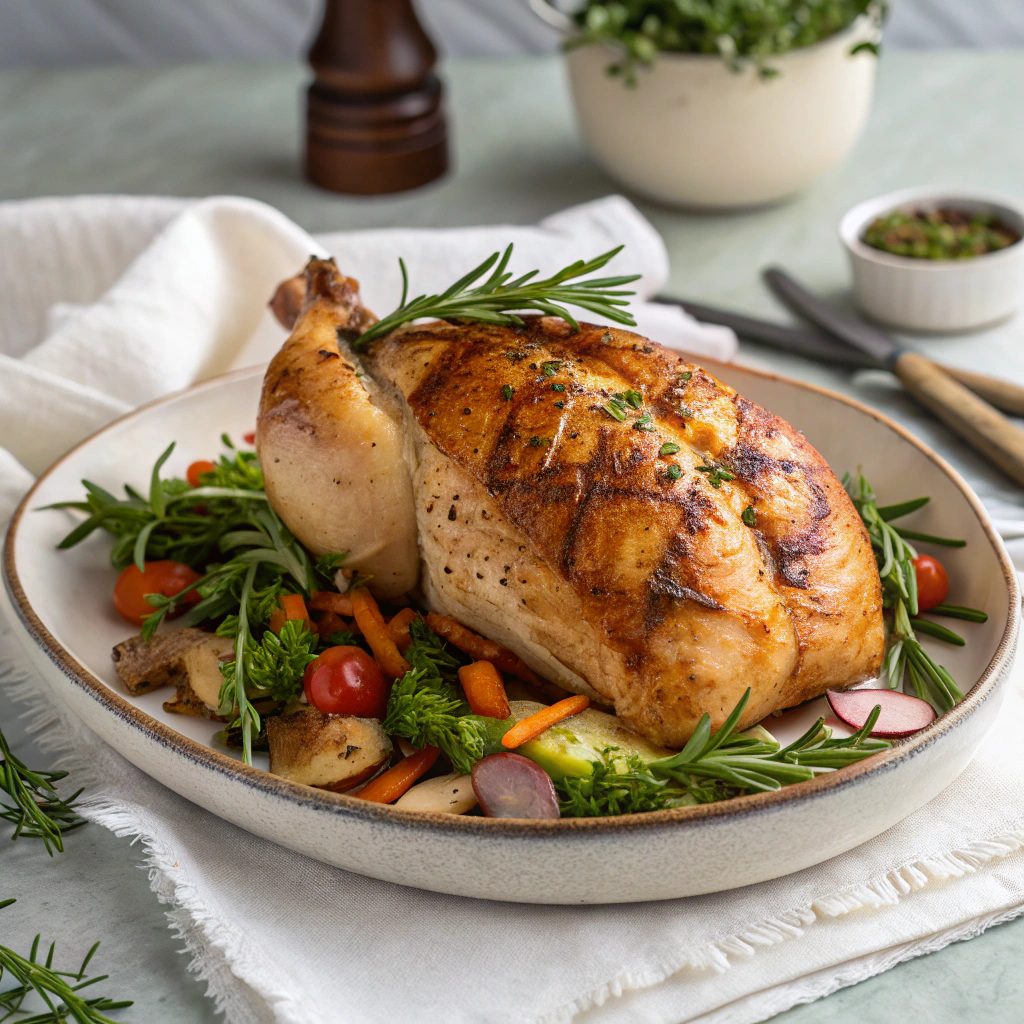
Cooking Your Brined Chicken: Unlocking the Benefits
Your Brine chicken breast can be prepared using any cooking method, but these techniques best showcase its juiciness:
Pan-Searing Method:
- Heat 2 tablespoons oil in a skillet over medium-high heat
- Add chicken breasts and cook for 5-7 minutes per side until golden brown
- Check for internal temperature of 165°F (74°C)
- Let rest for 5 minutes before slicing to retain juices
Oven-Roasting Method:
- Preheat oven to 425°F (220°C)
- Place brined chicken on a parchment-lined baking sheet
- Roast for 18-22 minutes until internal temperature reaches 165°F
- Allow to rest before serving
Presentation Tip: Slice chicken against the grain at a slight angle for the most tender eating experience and professional appearance. Garnish with fresh herbs that complement your brine flavors.
Storage and Make-Ahead Tips
Storing Brined Chicken:
- Brined uncooked chicken can be stored in the refrigerator for up to 2 days
- Cooked brined chicken stays moist longer than regular chicken – refrigerate for up to 4 days
- For longest freshness, wrap cooled chicken tightly in plastic wrap, then foil
Make-Ahead Strategy:
- Prepare brine up to 3 days ahead and refrigerate
- Batch-brine chicken breasts, then individually freeze for quick weeknight meals
- Thaw frozen brined chicken in refrigerator overnight before cooking
Reheating Without Drying:
- Reheat in 300°F (150°C) oven covered with foil
- Add 1-2 tablespoons of water or chicken stock to create steam while reheating
- Heat just until warmed through (about 15 minutes) to prevent moisture loss
Creative Variations to Explore
Mediterranean Brine: Add oregano, thyme, olives, and lemon zest
Asian-Inspired: Incorporate soy sauce, ginger, star anise, and orange peel
Spicy Southwest: Include jalapeños, cilantro, lime, and cumin seeds
Herb Garden: Use a blend of fresh herbs like dill, parsley, tarragon, and chives
Smoky BBQ: Add liquid smoke, paprika, and a touch of molasses to the brine
Final Thoughts: Your Chicken Revolution Begins
Armed with the technique of Brine chicken breast, you've joined a select group of home cooks who understand the transformative power of this simple science. The beauty lies in its versatility – once you master the basic method, you can customize endlessly to suit your taste preferences and meal plans.
Remember that brining is both art and science, so don't hesitate to experiment with different flavor combinations while respecting the fundamental salt-to-water ratio. Your family and dinner guests will notice the difference immediately, likely prompting questions about your "secret technique." Whether you share your newfound knowledge or keep it your culinary secret is entirely up to you.


